How to Replace a Mitsubishi Transmission
Is your Mitsubishi transmission on the fritz? Paying a shop for a transmission replacement will set you back thousands of dollars, so you might be thinking about taking care of the job yourself.
This guide will help you determine if replacing the transmission is a job you could tackle on your own, point you in the right direction for major savings on a replacement OEM transmission, and walk you through the replacement process.
Should You Replace Your Transmission or Leave it Up to a Professional?
A transmission replacement is not like changing the oil in your car, obviously. It requires intermediate mechanical knowledge and the ability to follow instructions and heed all the warning labels that come with the new transmission. A transmission installation is something that needs to be done correctly the first time around.
When a transmission isn't installed correctly, you're going to be frustrated. More specifically, your transmission may malfunction. A common problem is that the oil seals or gaskets get damaged during the installation, and then they leak.
All that being said, replacing the transmission is definitely something you can do if you have enough knowledge and a good set of instructions to follow.
If you feel more comfortable leaving the transmission replacement up to a professional (even if it means paying them hundreds or thousands of dollars in labor), you can still save some money on the replacement transmission itself. At FactoryMitsubishiParts.com, we offer some of the best prices for genuine OEM Mitsubishi transmissions. Perform a search on your Mitsubishi model to see how much money you can save on a transmission if you order from us.
Ordering an OEM Transmission
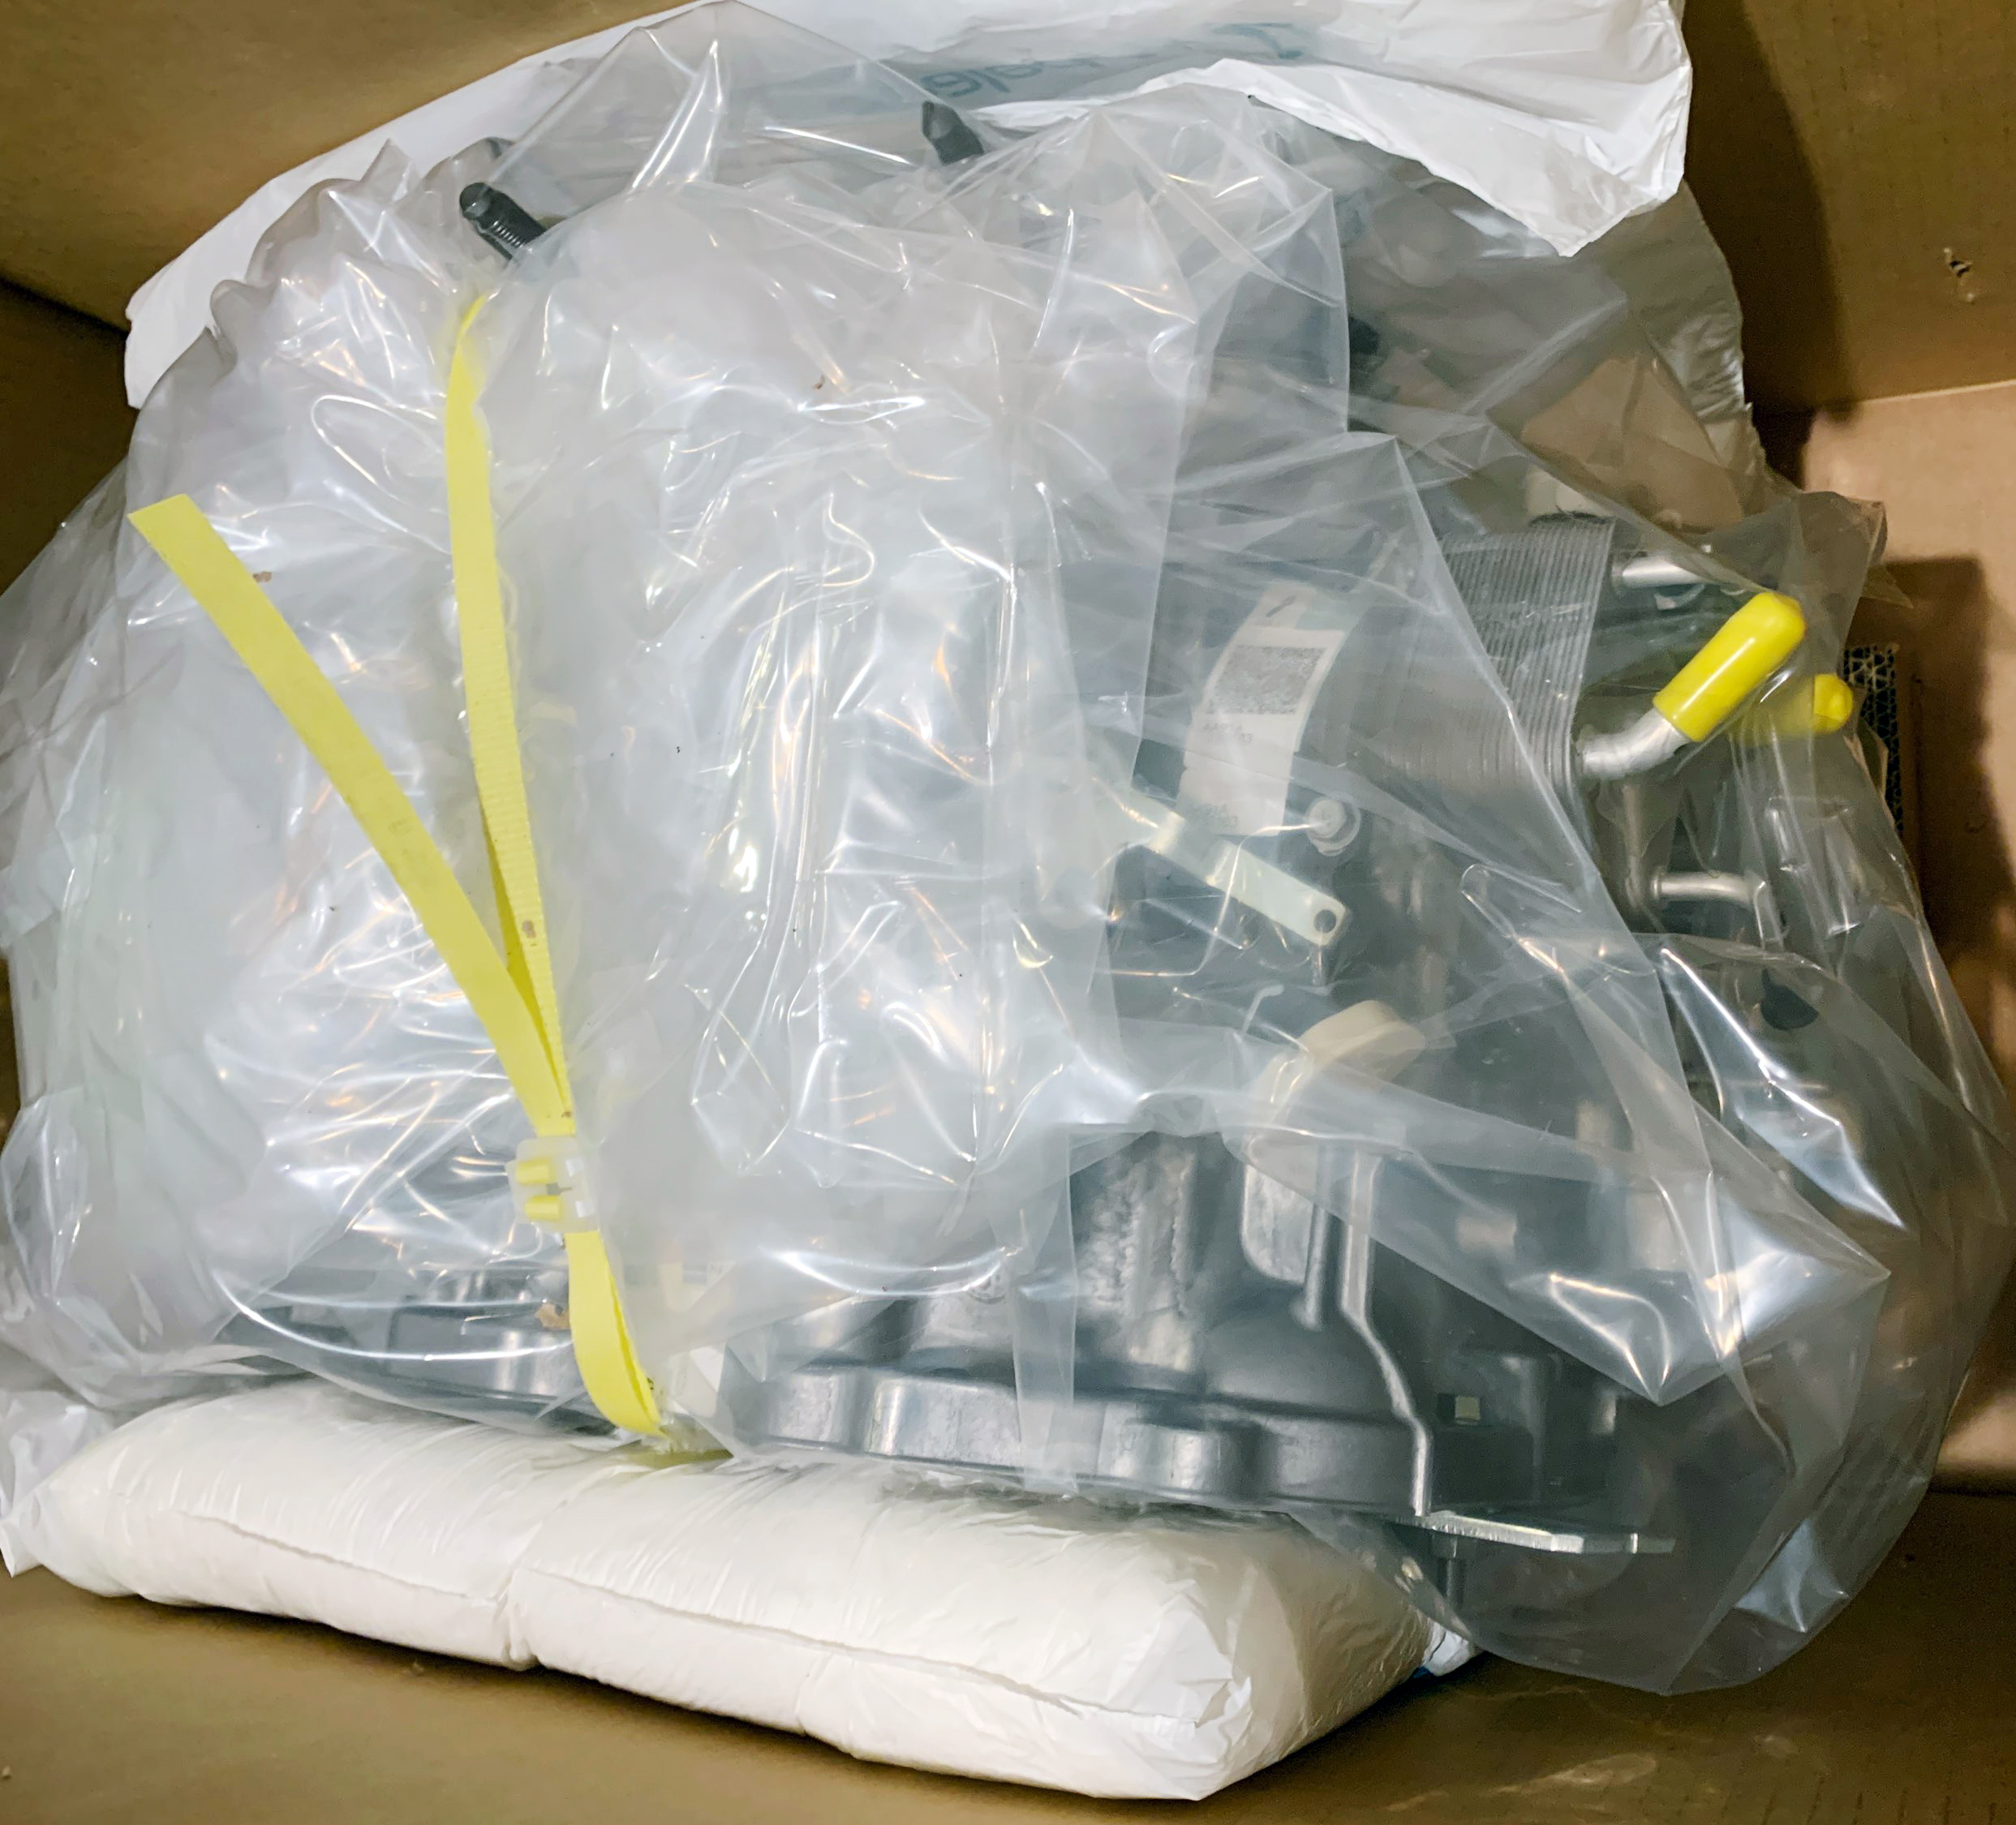
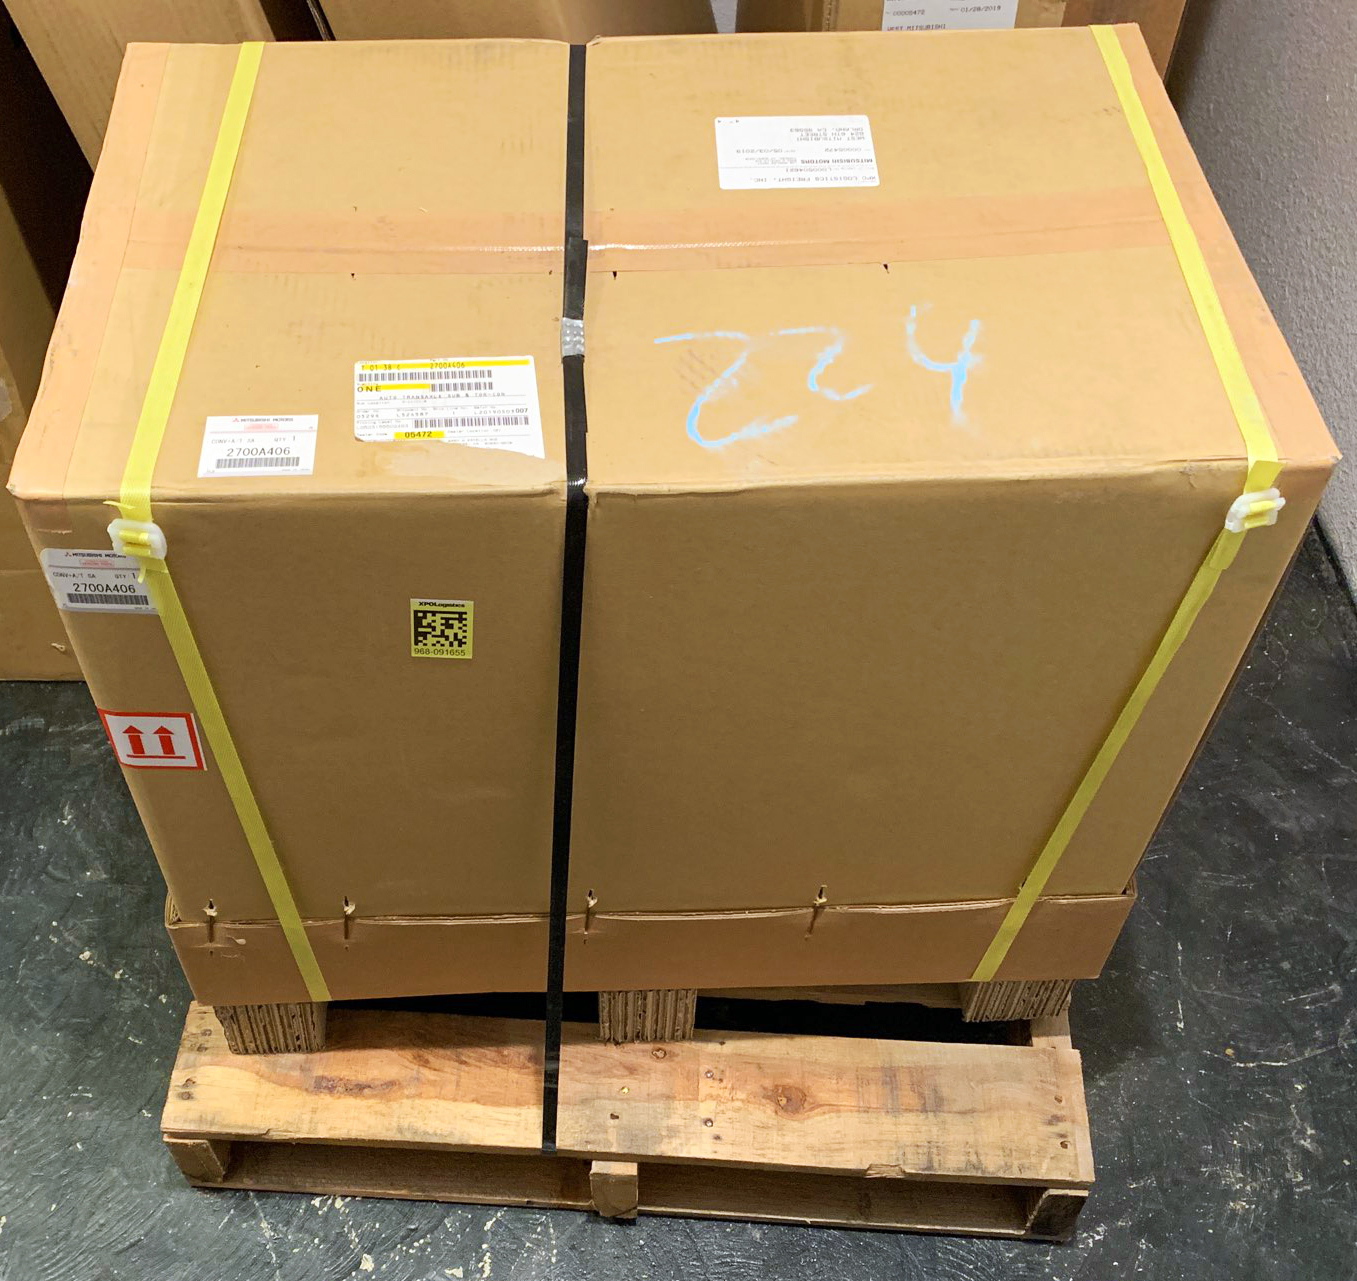
You can get your replacement transmission from two different types of places: a Mitsubishi dealership or online. Mitsubishi dealerships always offer brand new OEM transmissions, which is what you should always get, by the way. OEM transmissions are also available online, usually at a much lower price than what dealerships offer.

For example, you’ll save about 30% on an OEM transmission if you order an OEM transmission from us. Since transmissions usually cost a few thousands dollars, you’re looking at about $1K in savings. Your mileage may vary, though. The easiest way to know how much you’ll save on a transmission is to look up your Mitsubishi model in our catalog.
Once you place your order, we'll ship your brand new OEM transmission to you.

Replacing Your Transmission at Home
Once you have the replacement transmission ready, roll up your sleeve and tackle the replacement process by following the steps outlined below. Note that these steps are based on 2003-2006 Outlander models, and this is a basic overview of the process. If you want more detailed instructions, check the service manual.
1. Prepare Your Car for the Job
To prepare your car for the job, you need to:
- Disconnect the negative battery cable
- Remove the front and side engine undercovers
2. Drain the Fluids
Before starting, you want to drain the:
- Transaxle oil
- Engine coolant
If your car is an AWD, drain the transfer fluid, too.
3. Remove and Disconnect Some Parts
To get the transmission out, you need to remove or disconnect the following parts:
- Front exhaust pipe
- Propeller shaft
- Air cleaner assembly
- Battery and battery tray
- Transaxle control cable
- A/T control solenoid valve assembly connector
- Transmission range switch connector
- Input and output shaft speed sensor connectors
- A/T fluid cooler hose from the radiator (plug the hose)
- Starter mounting bolt
- Halfshaft and inner or output shaft assembly, depending on whether your car is AWD or FWD
- Bell housing cover
- Transaxle stay
- Drive plate bolts
- Center member and front roll stopper assembly
- Transfer case (if applicable)
- Rear roll stopper (if applicable)
- Roll rod bracket (if applicable)
4. Remove the Transaxle Mount
First, loosen the upper engine-to-transaxle bolts. Don't remove the bolts yet. With a floor jack, slightly raise the transaxle. Make sure that the transaxle isn't wobbly on the floor jack.
5. Lift the Vehicle
Install an assembly that supports the engine, and then lift the vehicle. Using a transmission jack, lower the transaxle. A transmission jack has a mounting plate that will help bring your transaxle to the ground safely.
6. Install the New Transmission in the Reverse Order of Removal
Be sure to torque the bolts to specs. When everything is installed, refill all of the fluids you drained in step #2.
7. Wrap Everything Up
It would be unwise to start driving as soon as the new transmission's installed. You want to make sure that everything is installed correctly. More specifically:
- Re-check all fluid levels
- Start the engine and then observe the transmission to see if anything is leaking
- Check that the shift linkage is functioning properly by shifting from P to R, N, and D
